

Key Takeaways
Why Regular Fluid Checks Matter
Your vehicle runs on a network of fluids - each one protecting a critical system from heat, friction, corrosion, or pressure. Letting any one of them drop too low or degrade too far can lead to damage that far outpaces the cost of a simple top-off or flush. The good news: a basic visual inspection of most fluids takes under 20 minutes and requires no special skills.
These checks also give you early warning of bigger issues. A brake fluid reservoir that's consistently low, for example, often points to worn pads or a leak - not just evaporation. Catching that early is the difference between a routine service visit and an emergency repair. For a broader approach to keeping your car ready year-round, see the seasonal car maintenance checklist that covers fluids alongside tires, brakes, and more.
Fluid inspections also pair naturally with other quick checks. If you're already under the hood, it's worth being aware of what your under-hood symbols and dashboard warnings mean, so you can connect what you see visually with what your car might already be telling you through its warning system.
What you will need
What You'll Need Before You Start
Before lifting the hood, make sure the car is parked on a flat surface and the engine has been off for at least 30 minutes. Checking fluids on a sloped surface gives inaccurate dipstick readings, and a hot engine creates burn and pressure risks - particularly with the cooling system. Gather a clean rag, your owner's manual, and optionally a flashlight and disposable gloves.
Clean lint-free rag or paper towels
Wipe dipsticks clean before taking a reading to get an accurate fluid level.
Disposable gloves
Protects skin from brake fluid and coolant, both of which can be irritating or harmful.
Flashlight or phone torch
Improves visibility inside the engine bay, especially in low-light conditions.
Owner's manual
Identifies correct fluid specifications, dipstick locations, and reservoir markings for your specific vehicle.
Your owner's manual is genuinely useful here - it identifies where each fluid reservoir is located on your specific vehicle, what fluid types are compatible, and what the markings on each dipstick or reservoir mean. Engine bays vary considerably across makes and models.
Step-by-Step: Checking Each Fluid
Work through the fluids below in sequence. Most can be checked with the engine cold and off; transmission fluid is a notable exception on many vehicles. If anything looks significantly low, discolored, or smells burned, note it and discuss it with a qualified mechanic rather than simply topping it off and moving on.
Check engine oil
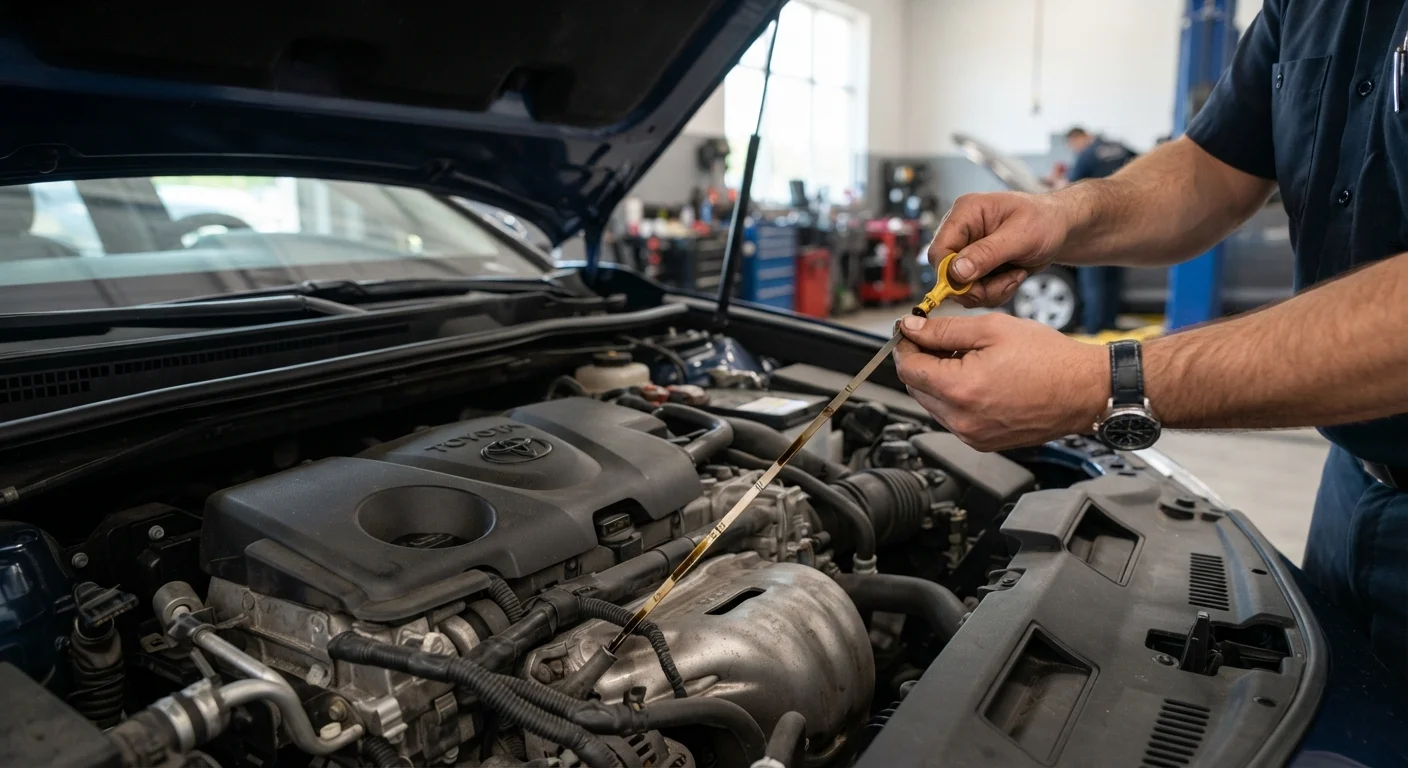
Locate the oil dipstick - typically marked with a bright yellow or orange ring. Pull it out, wipe it clean with your rag, reinsert it fully, then pull it out again. The oil level should sit between the two marks (often labeled MIN and MAX, or L and H). The oil should appear amber to dark brown. Black, gritty oil signals it's time for an oil change. Milky or foamy oil can indicate coolant mixing with oil - have a mechanic inspect this immediately.
Inspect engine coolant
Find the translucent coolant reservoir - it's usually connected to the radiator via a hose. You can read the level through the reservoir walls without removing the cap. The fluid should sit between the LOW and FULL marks and appear green, orange, or pink depending on the coolant type. Never open the radiator cap on a hot engine - pressurized steam can cause severe burns.
Check brake fluid
The brake fluid reservoir is a small plastic container near the back of the engine bay on the driver's side. Its level is visible through the semi-transparent walls. It should sit between MIN and MAX. Brake fluid is typically clear to light yellow when fresh; dark brown fluid indicates it has absorbed moisture and should be flushed by a professional. Do not top off brake fluid without understanding why it's low - a drop in level often means worn brake pads or a leak.
Examine power steering fluid
On vehicles with hydraulic power steering, locate the power steering reservoir - typically a small capped container with a steering wheel icon on or near it. Many reservoirs have a dipstick built into the cap; others show MIN/MAX lines on the side. The fluid should be light amber or pink. Dark, burnt-smelling fluid or a noticeably low level warrants a mechanic's inspection.
Note: Many newer vehicles use electric power steering and have no fluid reservoir to check. Consult your owner's manual if you're unsure.
Look at transmission fluid
Many automatic transmissions have a dipstick (often red-handled) near the back of the engine bay. For an accurate reading on these vehicles, the engine typically needs to be warm and running - check your owner's manual for the correct procedure. Healthy transmission fluid is bright red and nearly odorless. A dark red-brown color or a burnt smell signals it needs professional attention. Many modern vehicles have sealed transmissions with no dipstick - these require a shop inspection.
Top off windshield washer fluid
The washer fluid reservoir is usually a blue-capped container marked with a windshield spray symbol. This is the only fluid you should routinely top off yourself without concern. Use a washer fluid rated for your climate - formulas with antifreeze properties are important in cold-weather states to prevent the lines from freezing. Never substitute water alone, as it can freeze, breed bacteria, and promote mineral buildup in the system.
Once you're comfortable with fluid checks, you'll find they slot easily into a broader pre-trip routine. See our pre-drive safety checklist for a quick walkthrough of other visual checks worth making before you head out.
When to Call a Mechanic Instead
Fluid inspection is firmly in DIY territory - but fluid repair usually isn't. If you notice a puddle under your parked car, a reservoir that's empty rather than just slightly low, or fluid that looks or smells wrong, those are signs to book a professional inspection rather than simply refilling and hoping for the best. The same applies if a dashboard warning light related to oil pressure, temperature, or braking comes on while driving.
Curious about where the DIY line generally falls for car maintenance? Our guide to DIY car maintenance vs. taking it to a shop walks through how to make that call. And since you're already building good habits under the hood, don't overlook what's happening at ground level - tire pressure, tread depth, and rotation are just as critical to vehicle safety and equally accessible to everyday drivers.
Don't Guess on Brake or Coolant Issues
If your brake fluid reservoir is noticeably low or your coolant level keeps dropping between checks, do not simply top them off and move on. Both can indicate active leaks or system failures that pose genuine safety risks. Have the vehicle inspected by a qualified mechanic before driving it extensively.